Introduction to Minidv Tapes and Their Legacy
In an era dominated by digital video, the introduction and subsequent popularity of MiniDV tapes in the early 2000s marked a significant shift in the way people captured their precious memories. These compact tapes enabled amateurs and professionals alike to record high-quality video with relatively small camcorders. Fast forward to today, and many individuals find themselves with a treasure trove of old MiniDV tapes brimming with memories but lacking a way to view them. Transitioning from MiniDV to digital formats is not just a matter of convenience; it’s essential for preserving these memories in a format that can be accessed and enjoyed for years to come. For a comprehensive guide on how to make this transition, refer to our dedicated resource on Minidv to digital conversion.
The Evolution of Video Recording
Video recording technology has come a long way, evolving from bulky analog tape recorders to the sleek, high-definition camcorders of today. The MiniDV format rapidly gained popularity due to its ability to deliver superior video quality and user-friendly design. With its compact size and digital storage capabilities, MiniDV quickly became the go-to medium for recording family events, vacations, and professional projects alike.
Why Digitizing Minidv Tapes is Essential
Digitizing your MiniDV tapes is crucial for several reasons. Firstly, digital files are less susceptible to degradation over time compared to physical tapes, which can suffer from wear and tear. Furthermore, access to digital content is significantly more convenient; you can stream videos on various devices, edit them, or share them easily with others. In addition, digital files are typically backed up more securely than physical media and can be stored in multiple locations.
Understanding the Minidv Format and Its Features
The MiniDV format is a digital tape format used for storing video. It compresses video data into a manageable size while still maintaining high quality, typically at a resolution of 720×480 pixels. One of the key features of MiniDV is its ability to store up to 60 minutes of footage on a single tape without losing clarity, making it a preferred choice for many filmmakers and videographers during its peak usage period.
Methods for Minidv to Digital Conversion
DIY Approaches for Home Enthusiasts
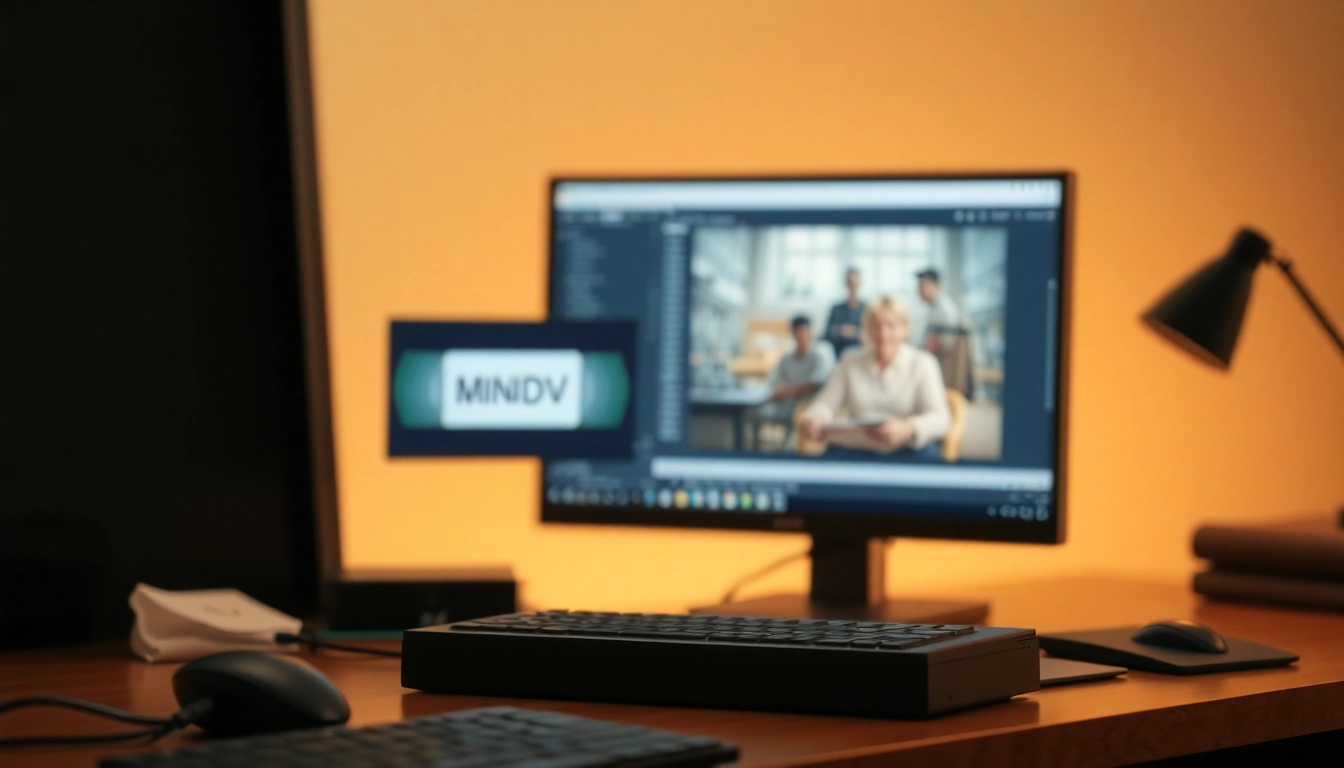
Many video enthusiasts opt for a DIY approach when converting MiniDV tapes to digital formats. The process can be straightforward for those comfortable with technology. You will need a MiniDV camcorder or deck, a FireWire or USB connection, and video capture software. Begin by connecting your MiniDV player to your computer, ensure the necessary software is installed, and transfer the video files in real-time. While this method might save money, it does require time and a basic understanding of video-editing tools.
Professional Services for Hassle-Free Conversion
If DIY isn’t your style, or if you have a significant number of tapes, professional services are available. Companies that specialize in video conversion will handle the entire process, ensuring high-quality results. This is particularly beneficial for those with old or high-value tapes, as professionals often have better equipment and expertise to prevent quality loss during conversion.
Choosing the Right Equipment for Quality Transfer
When selecting equipment for MiniDV conversion, prioritize quality over cost. Look for a reputable MiniDV camcorder or a dedicated tape deck that connects via FireWire, which offers the best quality for video transmission. Additionally, software capable of capturing and processing video, such as Adobe Premiere or Final Cut Pro, can improve the overall quality of your digital files.
Step-by-Step Guide to Converting Minidv to Digital
Necessary Tools and Software
To embark on the DIY conversion journey, gather the following essential tools and software: a functional MiniDV camcorder or deck, FireWire or USB cables, video capture software (such as iMovie for Mac users or Windows Movie Maker for PC), and ample storage space on your computer or external drives. Having a clean workspace and proper organization of your tapes can facilitate a smoother conversion process.
Connecting Your Devices: A Quick Setup
Begin by establishing a connection between your MiniDV camcorder and your computer. If using a FireWire connection, insert the FireWire cable into the camcorder and the appropriate port on your computer. Next, power on your camcorder and launch your video capture software. Ensure the software recognizes the connection before starting the playback of your MiniDV tapes.
Tips for Ensuring Optimal Video Quality
To maintain the highest possible quality during conversion, avoid using analog connections such as RCA or S-Video, as these can introduce degradation. Always use a direct digital connection, such as FireWire. Ensure that your digital storage space is set up correctly to accommodate the incoming video files and consider capturing your footage in the highest resolution available in your software settings. Regularly check for any updates to both your software and drivers to guarantee the best compatibility and performance.
Common Challenges in Minidv to Digital Conversion
Addressing Quality Loss and Signal Issues
One of the most common challenges faced during conversion is the potential loss of video and audio quality. This arises particularly in older tapes that might have degraded over the years. To tackle this issue, clean your MiniDV camcorder’s heads regularly and adjust the playback settings on your video capture software for optimal results. Be aware that using lower-quality cabling can also introduce artifacts and degrade the video quality.
Handling Damaged Tapes Effectively
Dealing with damaged MiniDV tapes can be daunting, as physical issues may cause playback failures. If you encounter a tape that isn’t functioning properly, consider utilizing specialized repair services that can help recover the data. If you’re experienced, you might try gently cleaning the tape or using it in a different deck that supports MiniDV. Always make sure to make a copy of the digital output as soon as possible to prevent further loss.
Understanding the Time and Cost Involved
The time and cost of converting MiniDV tapes can vary significantly based on the volume of tapes you wish to transfer and whether you choose a DIY or professional service. Expect to invest several hours per tape if doing it yourself, depending on the length of the footage. The costs associated with professional services can also fluctuate, often ranging anywhere from $10 to $30 per tape, plus additional charges for tape repair, if needed.
Storage and Organization of Digital Files
Best Practices for Storing Converted Digital Files
Once your MiniDV tapes are successfully converted, it’s crucial to store the digital files securely. Utilize external hard drives or cloud storage options to ensure that your memories remain safe. Implement a systematic naming and filing structure that allows for easy retrieval. Consider making multiple backups to prevent data loss; one physical backup and one cloud-based backup is a recommended practice.
How to Edit and Share Your Digital Memories
Editing your converted videos can be a rewarding experience. Leverage user-friendly software such as Filmora or DaVinci Resolve, which offer a range of features for editing, adding effects, and improving overall video quality. Once edited, sharing your memories can be as simple as uploading to social media, creating DVDs for family, or even setting up a private cloud service for easy access and viewing by loved ones.
Future-Proofing: Formats and Storage Solutions
As technology continues to evolve, consider future-proofing your digital files by saving them in widely supported formats, such as MP4 or MOV, which are playable on most devices. Additionally, stay informed on the latest storage solutions; keep an eye on evolving technologies like solid-state drives (SSDs) which provide faster access times and more durability than traditional hard drives. Emphasizing redundancy in your storage strategy ensures that your cherished memories are preserved against unforeseen technological changes.
Conclusion
The journey from MiniDV tapes to digital formats not only revitalizes old memories but also ensures their preservation for future generations. Whether you choose to undertake this process yourself or enlist the help of professionals, understanding the intricacies of each method allows you to make informed decisions that best suit your needs. By following best practices for conversion, storage, and editing, you can celebrate the legacy of your MiniDV recordings in the digital age.
Leave a Reply