Introduction to MiniDV to Digital Conversion
In a world where digital media has become the primary medium for capturing and sharing our cherished moments, the importance of converting legacy formats cannot be overlooked. One such legacy format is the MiniDV to digital format. MiniDV tapes represent years of personal memories, significant occasions, and invaluable content that deserve to be preserved. In this article, we will explore the importance of MiniDV tapes, discuss the reasons for conversion, and provide a detailed guide on how to effectively transform these tapes into digital format.
Understanding MiniDV Tapes and Their Importance
MiniDV tapes, introduced in the late 1990s, quickly gained popularity among both amateur and professional videographers due to their compact size, affordability, and excellent video quality. These tapes can hold up to 60 minutes of video, offering a satisfactory format for capturing family events, weddings, school projects, and more. However, as technology has evolved, the equipment used to read MiniDV tapes has become increasingly scarce. Ensuring that these tapes are converted to digital format not only preserves the recordings but also ensures that the memories captured remain accessible for years to come.
Why Convert MiniDV to Digital?
Several reasons underscore the necessity of converting MiniDV to a digital format. First and foremost, digital files are much more versatile than tape. They can be easily edited, shared online, and stored without the risk of physical degradation. Secondly, digital storage options have become more affordable and plentiful, allowing users to save their converted videos on hard drives, cloud services, and USB flash drives. Lastly, digital formats are more resilient. Unlike MiniDV tapes that might deteriorate over time or become damaged, digital files can be duplicated and backed up, significantly reducing the risk of loss. With these advantages, converting your MiniDV tapes becomes a practical step towards preserving your precious memories.
Overview of the Conversion Process
The conversion process from MiniDV to digital entails specific steps that, when followed diligently, yield high-quality results. It begins with gathering the necessary equipment and software, preparing your tapes, and finally executing the conversion itself. With careful attention at each step—from ensuring the proper functioning of both the tapes and playback equipment to selecting optimal software—you can achieve a seamless transition from analog to digital format. Let’s dive deeper into each step to streamline your conversion process.
Step-by-Step Guide to Converting MiniDV to Digital
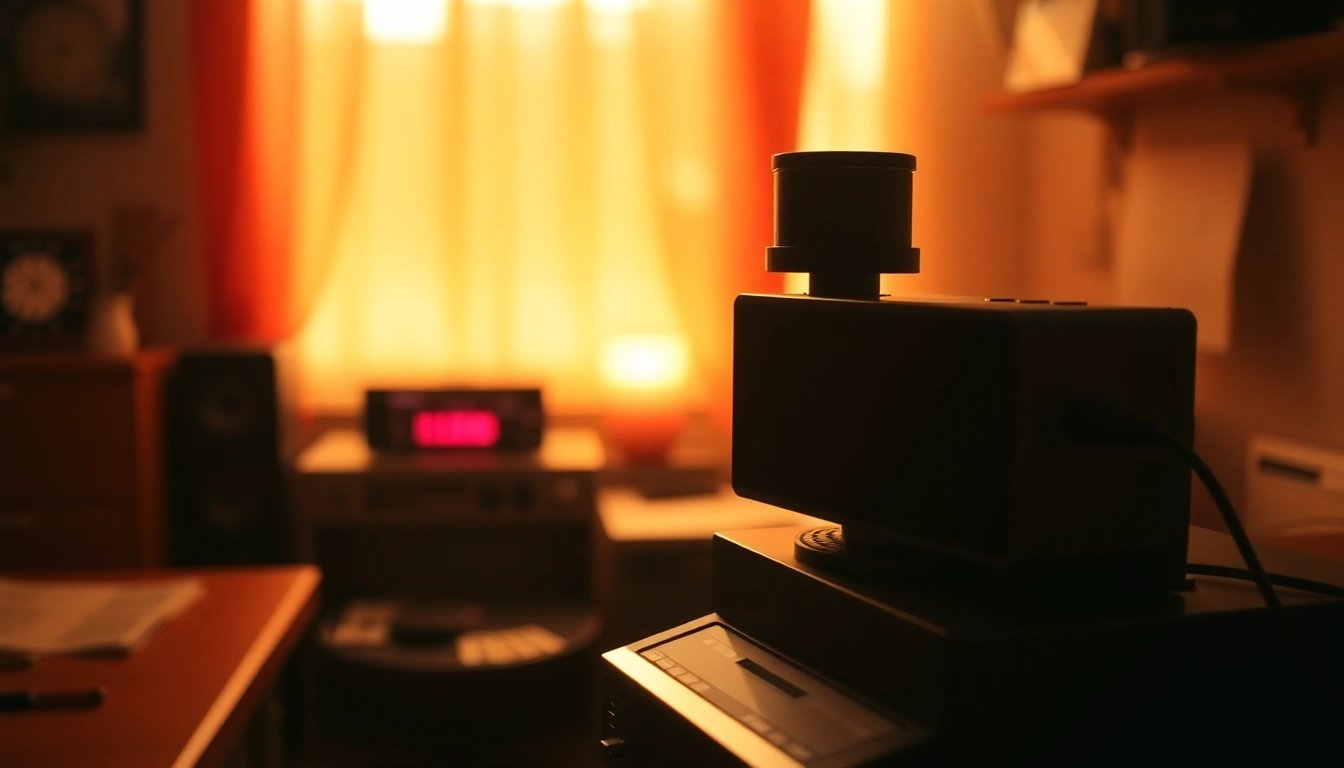
Required Equipment for Effective Conversion
To successfully convert MiniDV tapes to digital, certain equipment is necessary:
- MiniDV Camcorder or Deck: Your primary tool for playback, allowing you to view the tape content and transfer it to a digital format.
- Video Capture Device: This device connects your camcorder to a computer, facilitating the transfer process. Options include USB capture devices or internal cards, depending on your setup.
- Computer: A computer with sufficient storage capacity and processing power to handle video files is critical for the conversion process.
- Editing Software: After conversion, you might want to edit the footage. Software options range from basic free applications to professional editing suites.
Preparing Your MiniDV Tapes for Conversion
Before starting the conversion, it’s essential to prepare your MiniDV tapes:
- Check for Damage: Inspect the tape for physical damage, such as tears or mold. If any issues are found, consider consulting a professional for repairs.
- Clean the Heads: Ensure the playback device’s heads are clean for optimal playback quality. Dust and debris can introduce errors during the conversion process.
- Test Playback: Play the tapes to ensure they run smoothly. This step will let you identify any potential issues before the actual conversion.
Choosing the Right Conversion Software
The choice of software can significantly affect the quality of your conversion. There are several options available, catering to varying levels of expertise:
- Beginner Options: Basic applications like Windows Movie Maker or iMovie can help novices easily import and save video files.
- Intermediate Software: Options such as Adobe Premiere Elements allow for more editing flexibility without overwhelming the user.
- Professional Tools: For seasoned editors, Adobe Premiere Pro or Final Cut Pro offer extensive features for detailed projects.
When selecting software, consider your editing needs, technical comfort, and budget. It’s also beneficial to choose software that allows for lossless transfers to preserve video quality.
Common Challenges in MiniDV to Digital Conversion
Handling Damaged or Worn Tapes
One of the most significant challenges in converting MiniDV tapes to digital is dealing with damaged or worn tapes. Many tapes might exhibit deterioration signs, such as video dropouts or audio sync issues. It’s crucial to assess the condition of the tape thoroughly:
- Professional Reclamation: For heavily damaged tapes, consider professional services specializing in tape restoration. These experts use advanced techniques and tools to salvage as much content as possible.
- DIY Fixes: For minor issues, using a mini cleaning tape may help. Ensuring proper playback can rectify intermittent problems.
Dealing with Streaming Issues During Conversion
During the conversion, users may confront streaming issues leading to stuttered video and audio sync problems. These can be caused by several factors:
- Equipment Limitations: Ensure that the camcorder and capture device are properly connected and functioning; lagging hardware can introduce delays.
- USB Bandwidth: If multiple USB devices occupy bandwidth, disconnecting unnecessary peripherals can help improve transfer speeds.
Maintaining Quality During the Transfer
To maintain the high quality of the original MiniDV footage during the conversion process, consider the following tips:
- Avoiding Re-encoding: Save the video in a format that matches the original resolution and quality to avoid quality loss.
- Adjusting Settings: Always configure the capture settings to match the specifications of the original footage—frame rates and resolution matter.
Best Practices for Successful MiniDV to Digital Conversion
Tips for Optimal Results
Following best practices can significantly enhance the conversion results. Here are some practical tips:
- Regularly Update Software: Ensure your video capture and editing software are up to date to take advantage of the latest features and performance enhancements.
- Test Smaller Segments: Before converting the entire tape, test smaller segments to fine-tune your equipment and settings.
- Backup Regularly: After conversion, make multiple backups in different locations to secure your files against unforeseen losses.
How to Store Digital Files Properly
Once your MiniDV tapes are converted, proper file storage is crucial:
- Choose Reliable Formats: Saving files in widely used formats such as MP4 or MOV ensures compatibility across devices and platforms.
- Use Cloud Storage: Cloud services provide both backup and accessibility, allowing you to share footage easily while protecting against hardware failure.
- Organize Files Logically: Create a structured filing system categorizing by date, event, or person, making it easy to locate specific videos later.
Regular Maintenance of Your Converted Media
Maintaining your digital media is critical for long-term preservation. Here is how to ensure your files remain in top condition:
- Periodic File Checks: Regularly check the integrity of your files for any signs of corruption or loss, especially if stored on older systems.
- Update Storage Solutions: As technology advances, periodically update your storage methods to avoid obsolete formats.
Measuring Success: Performance Metrics for Digital Conversion
Assessing the Quality of Digital Output
Quality assessment should be an ongoing process during and after your conversion. Here are some metrics to consider:
- Resolution and Clarity: Ensure good resolution; ideally, it should match or exceed the original MiniDV quality.
- Audio Sync: Confirm that audio closely aligns with video playback and that there are no audible issues.
Gathering Feedback on User Experience
Aside from self-assessment, obtaining feedback can provide insights into the viewing experience:
- Peer Review: Share the converted videos with friends or family, gathering constructive feedback regarding playback and quality.
- Surveys: You can create simple surveys to assess how users perceive the quality of your digital conversions.
Tracking and Analyzing Digital File Access
If your videos are shared online or through a digital platform, tracking access patterns can provide valuable insights:
- Analytics Tools: Utilize analytics tools to track how often videos are accessed, identifying which ones resonate most with viewers.
- Engagement Metrics: Consider metrics such as view length and audience retention to assess the overall interest in your content.
Conclusion
Converting MiniDV tapes to digital format is a crucial step in preserving precious memories in a rapidly evolving digital era. By understanding the significance of these tapes, preparing adequately for the conversion, and adhering to best practices, you can successfully transition your memories into a modern format that remains accessible and shareable. The journey may present challenges, but with the right knowledge and tools, achieving high-quality conversions is entirely possible. Remember to continually assess both the quality of your conversions and the safety of your stored media to enjoy your digital memories for years to come.
Leave a Reply